HOME WINEMAKING: A Lazyman's Recipe For A Wine That Makes Itself
HOME WINEMAKING
A LAZYMAN’S RECIPE FOR A WINE THAT MAKES ITSELF
By A. Brian Cain, the Michigan Vintner
If you are new to winemaking, this may look pretty involved. However, when I first wrote this piece about 30 years ago it might have been 2-300 words. What I’ve done here is add all of the subtle things that I’ve learned over the past 30 years so you don’t have to learn the hard way like I did.
When it comes to winemaking, there is only one truth. A great winemaker cannot make a great wine from poor quality grapes, but an inept winemaker can easily turn beautiful grapes into insipid wine. Anything else a winemaker tells you about “secret” recipes, the winemaker’s artistry, or very specialized (spelled e-x-p-e-n-s-i-v-e) equipment, is mostly lies. It really comes down to allowing the wine to make itself. In a perfect world, throwing a hundred pounds of sound, ripe grapes into a clean container and mashing them somewhat would yield eight gallons of good wine all by itself. Unfortunately, we do not live in a perfect world and Mother Nature often needs a little help doing what she does best – turning grapes into wine!
You might wonder why someone would even bother to make wine when good wine is so cheap. There are plenty of very good wines in the market place for under $10 and even some pretty decent wines in the $5 range. However, you can buy grapes and make wine for less than $3 per bottle! With good grapes and a bit of luck, your homemade wine might even taste better than the mass-market brands and I guarantee it will have more character. It still may not be worth the trouble, though, unless you just plain enjoy slopping around out in the garage on an autumn day. Also, grape vines make great privacy fences and ornamental arbors. If you are going to grow grapes, you might just as well learn to make wine. A healthy vine will produce two to four bottles of wine.
To make wine, you need the following equipment:
· Phillip Wagner’s book Grapes into Wine (about $10) try used book sellers
· Fermentation tanks (Rubbermaid 32-gallon “Roughneck” trash containers work great for this purpose and only cost about $20 apiece)
· Glass five-gallon carboys (these cost about $20 to $30 each) or stainless steel beer kegs which you can borrow from your local party store or bar for a $30 deposit. The beer kegs must have the tap portion removed and be thoroughly cleaned. Be sure to save the “guts” of the tapping system or you won’t get your $30 back.
· Air locks and stoppers available at all home winemaking suppliers for about $3. In the last 20 years or so, silicone rubber stoppers with built in one way valves have become available and are way better for a few cents more.
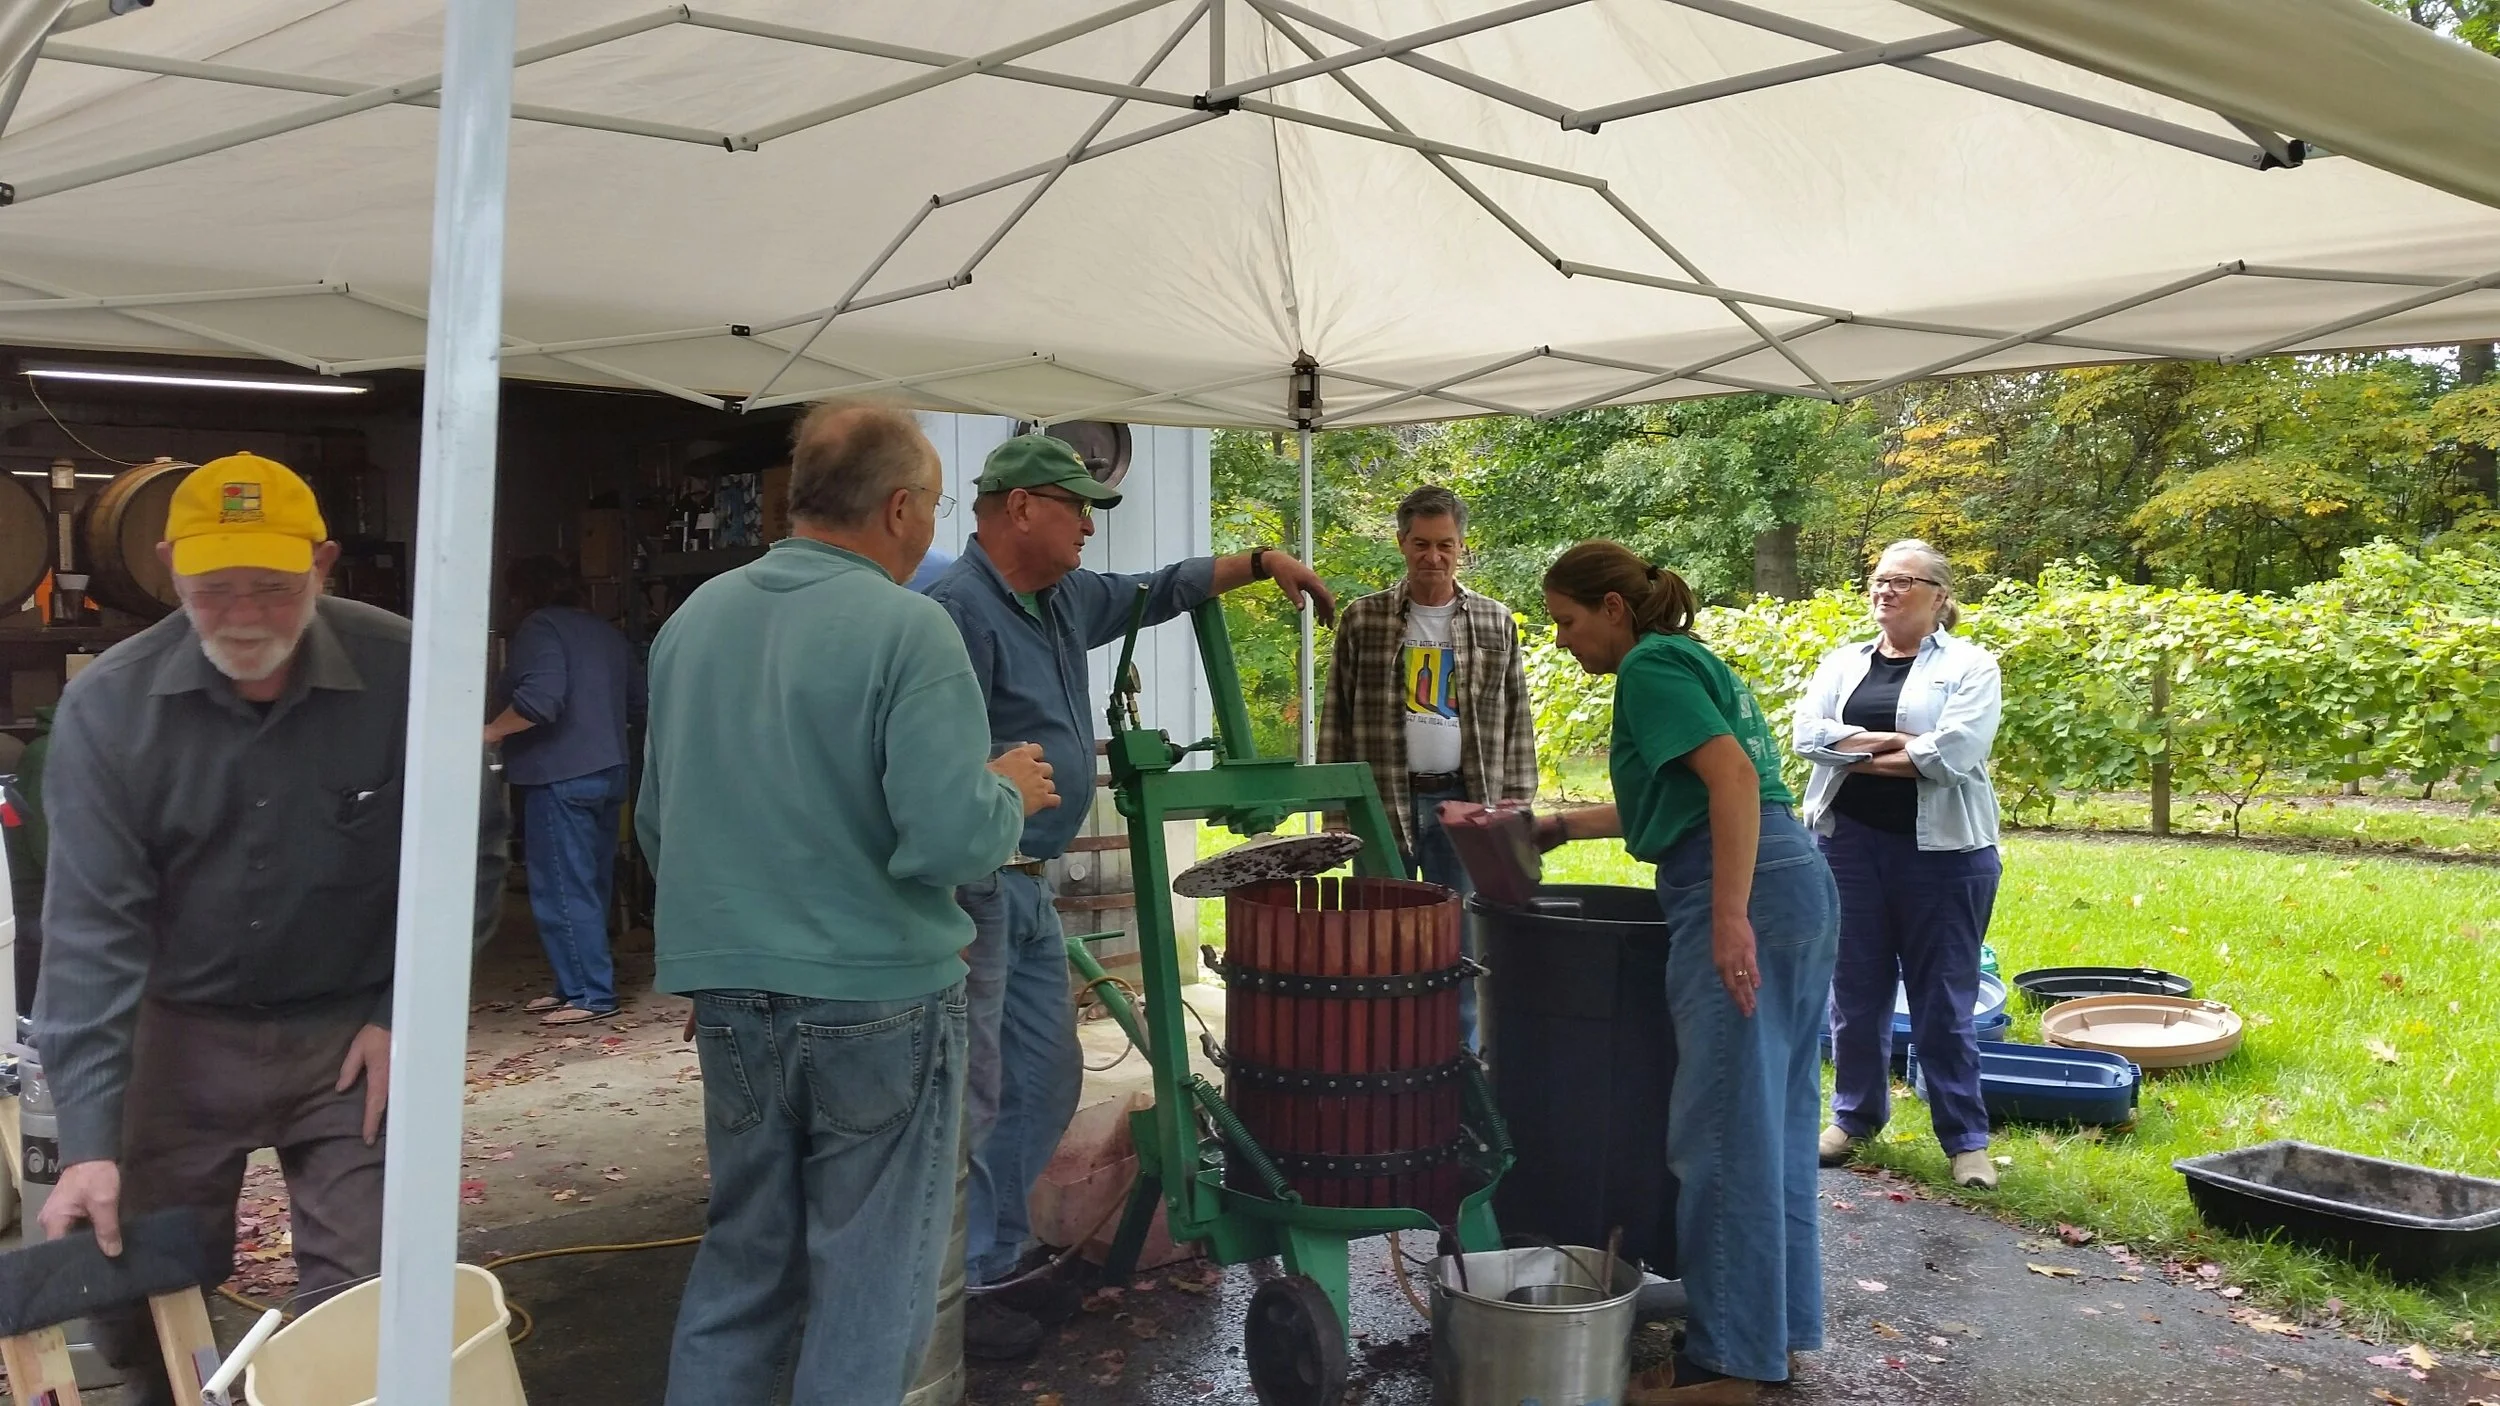
· Fruit press (these can cost from $150 to many thousands so, you might want to see if your local home winemaking shop or grape supplier can rent you one or if they do custom pressing)
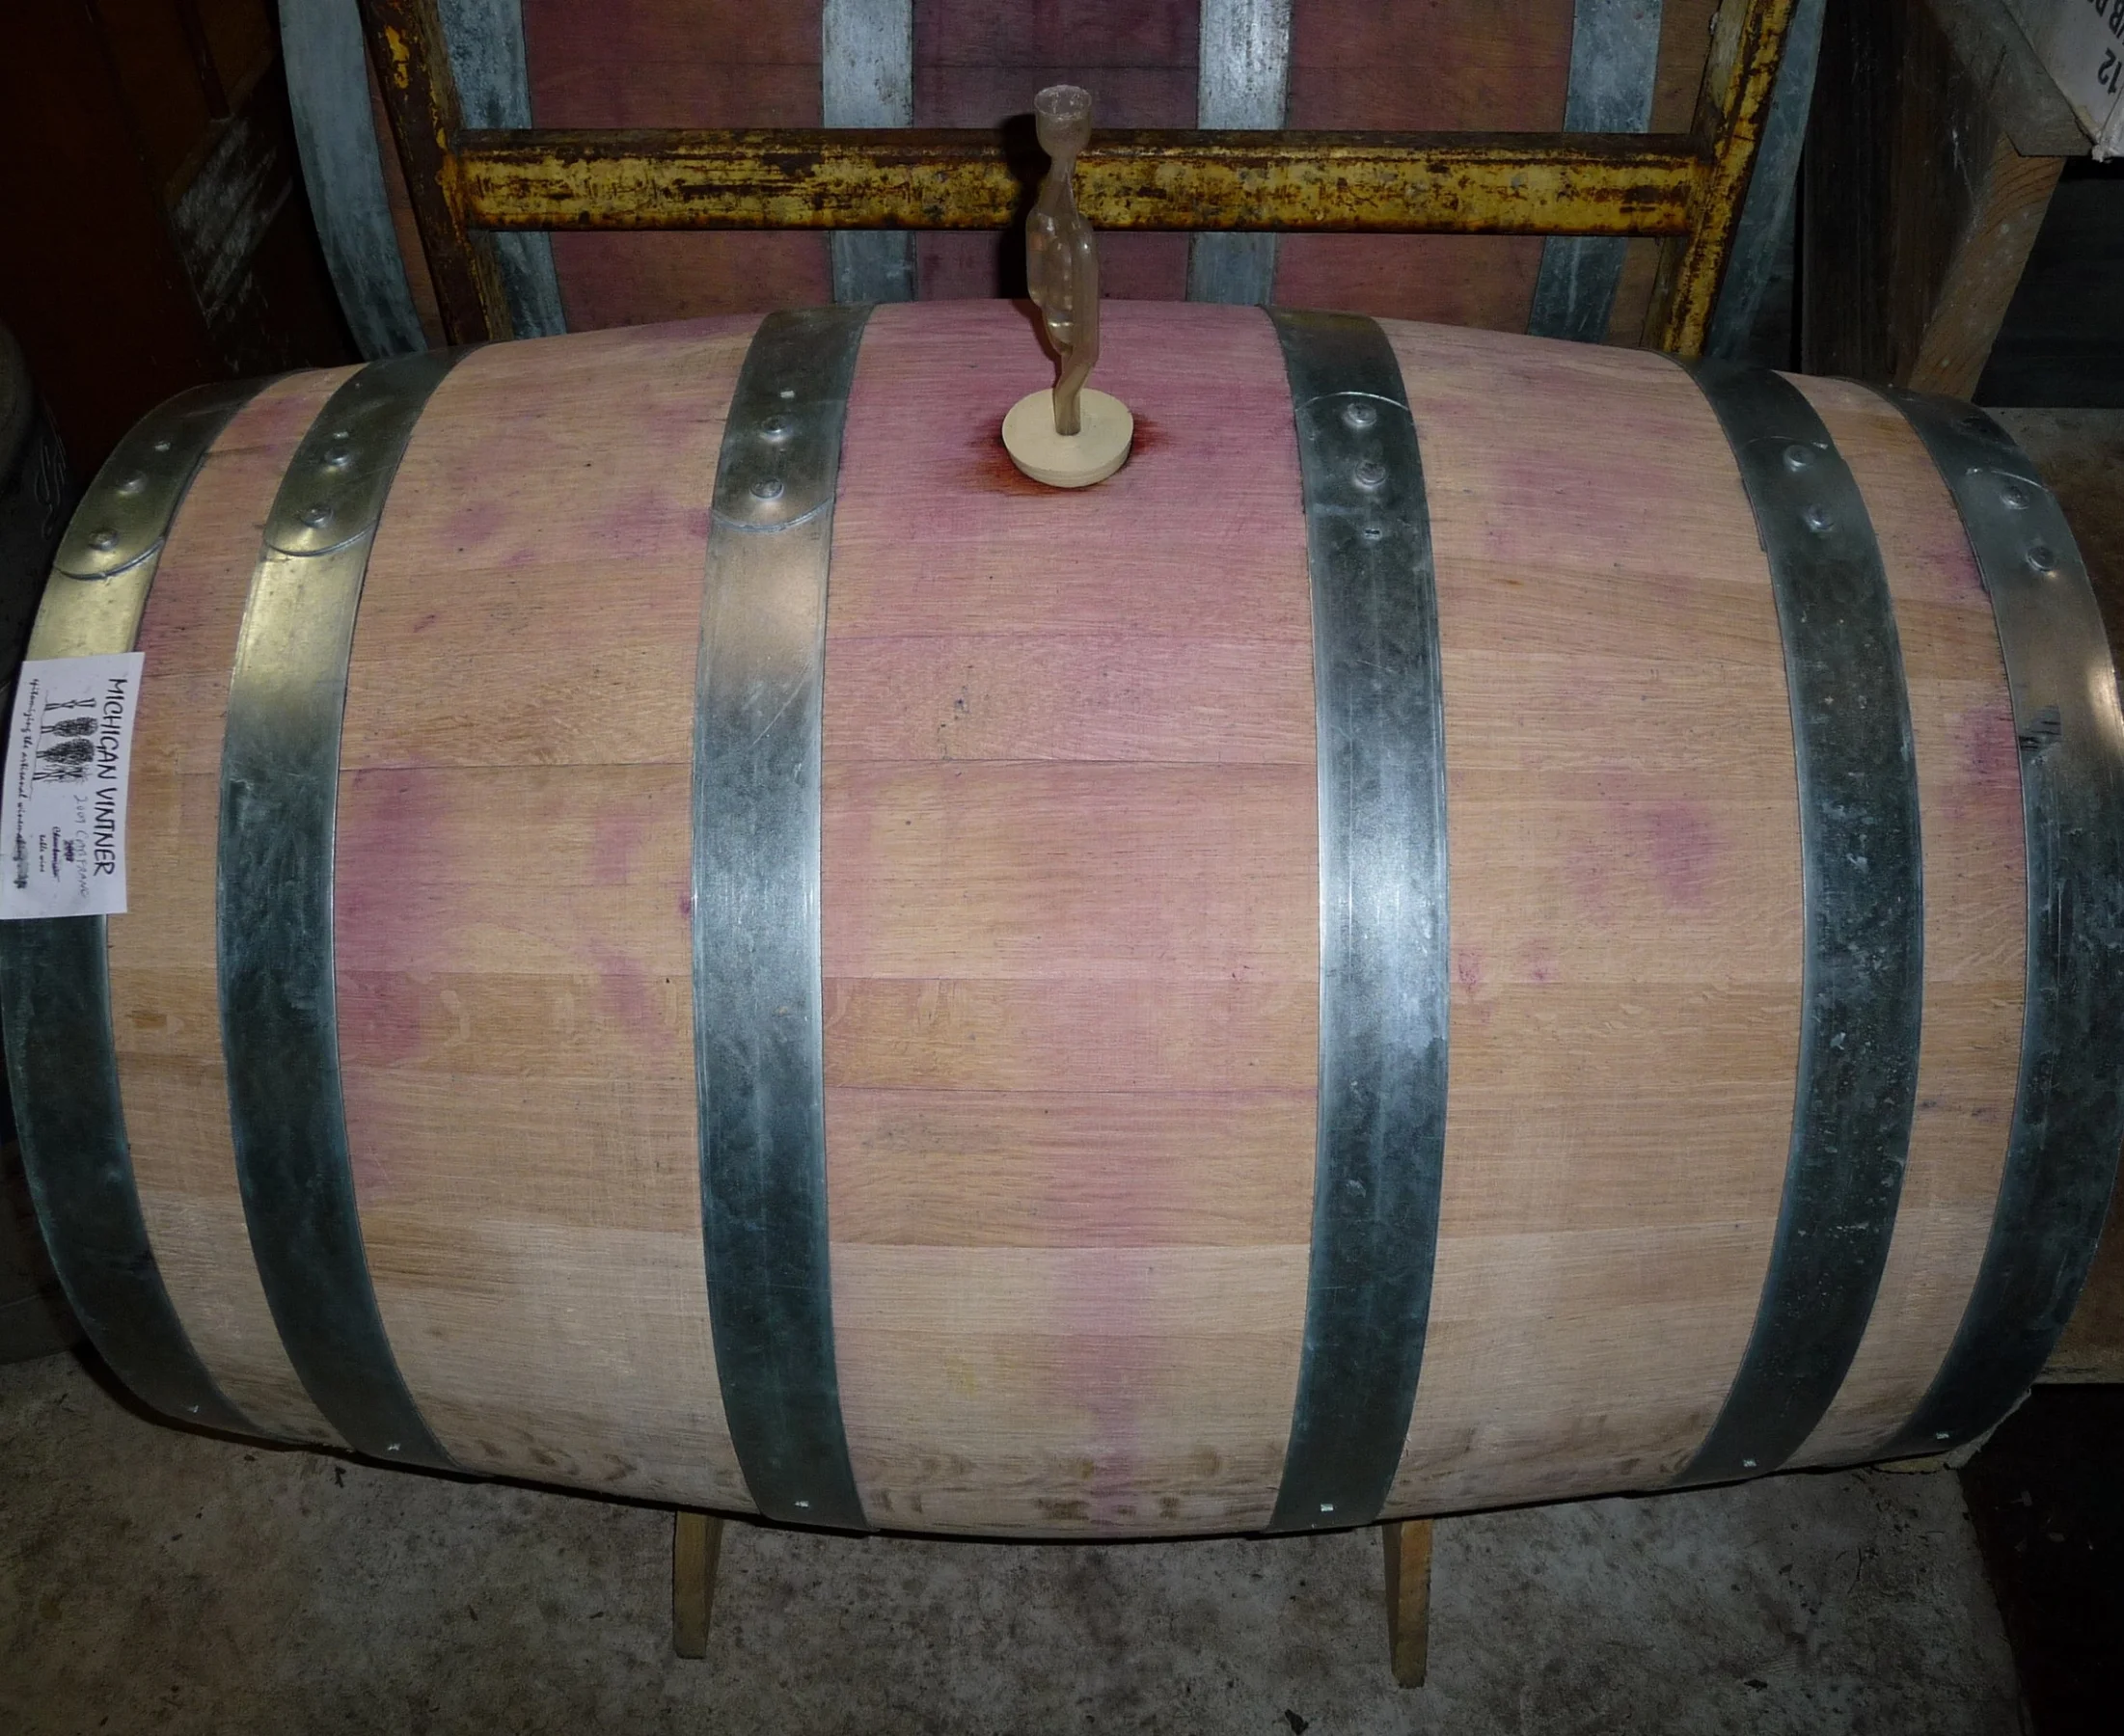
· Wooden oak barrels* (this is not essential, but I think it will make a significant improvement in your wine quality especially with hybrid grapes grown in the Midwest; a 55 gallon American White Oak barrel will cost about $250 if you buy directly from a cooper)
· Corking device (these cost from about $10 to thousands depending how fancy you get; a good manual corker that takes a fair amount of elbow grease to operate costs under $100)
Once you have the equipment, it’s time to start picking grapes. Here is my not-so-secret recipe for delicious dry red wine.

Step One
Using a stemmer/crusher will set you back a few dollars, but it saves a ton of hard labor
Unless you have a vineyard, find a source for fully ripe, mature wine grapes. In Michigan, hybrid varieties such as Marquette, Foch, Millot, Baco, Frontenac, St Croix, Castel, Chancellor or Chambourcin work best. Vinifera such as Merlot, Cabernet Franc or Pinot Noir generally don’t have a great deal of body or character when grown in the Midwest and will generally not give the amateur very favorable results. Even vinifera shipped in from California tend to make pretty bland wines. They can be useful, however, for blending to reduce acidity**. Avoid Concord and other native Labrusca varieties or table grapes. Only the most brilliant winemaker can extract a somewhat drinkable wine from these very low sugar, brutally acidic, varieties. And, although it is possible to make wine from any kind of fruit, it is extremely difficult to achieve any sort or palatable balance with non-grape fruits. They just do not contain enough natural sugar to provide any sense of richness and are usually extremely acidic to boot. Stick with good red hybrid grapes and you will avoid most of the potential problems. It will take about 150 pounds of grapes to make 10 gallons of wine. If you are planning on filling a wine barrel it wouldn’t hurt to get about a half ton of grapes so you have a little left over for topping off or blending with next year’s vintage. A half ton will cost about four or five hundred dollars and yield a little more than 25 cases or 300 bottles.
Step Two
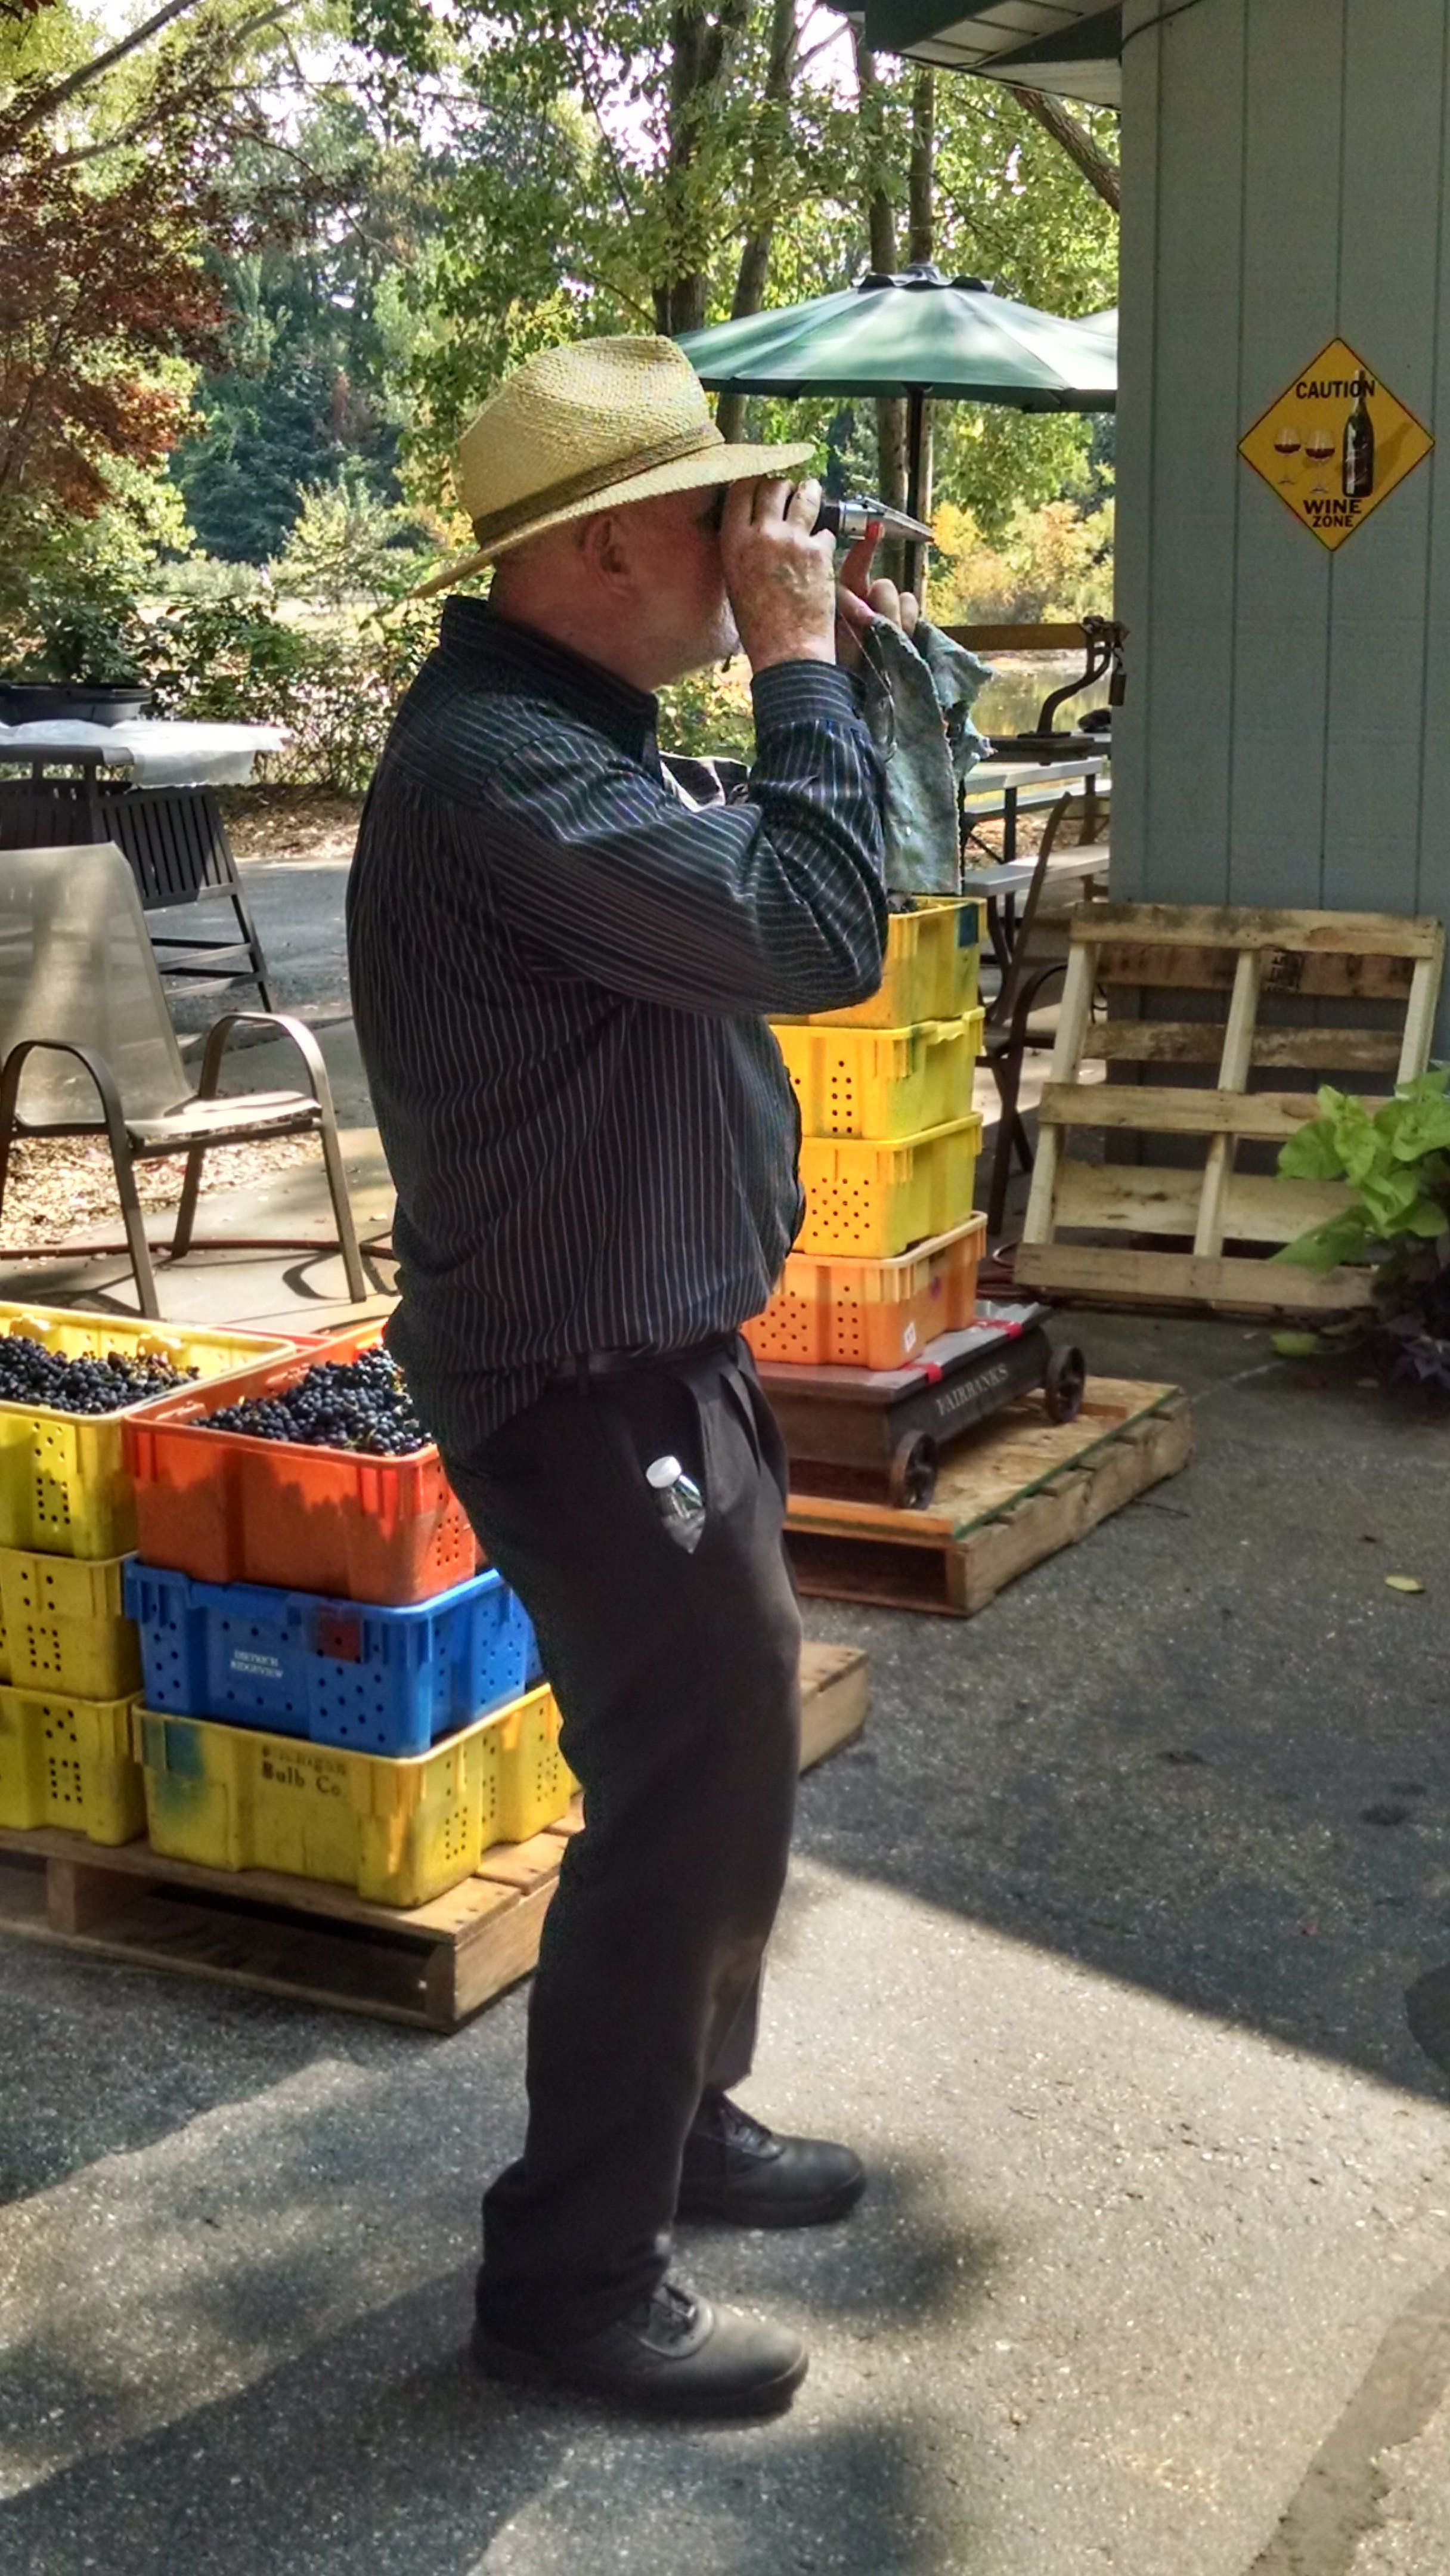
Keep in mind not every grape is exactly the same ripeness, so test many to an average Brix
Ask your grape supplier for the sugar (measured in degrees Brix) and the acid (measured in grams/liter) readings. You can purchase a refractometer or hydrometer as well as an acid test kit at most home winemaking shops if your supplier is unable to give you that information. If the Brix is below 20 degrees, you will need to add sugar. The following chart from Phillip Wagner’s book shows how much.
CORRECTING FOR SUGAR
To make wine of 12% alcohol by volume add
Brix pounds of sugar ounces of sugar
per 10 gallons per gallon
15 5.601 8.92
16 4.675 7.47
17 3.740 5.98
18 2.798 4.31
19 1.849 2.95
20 .894 1.42
Purists will use only corn sugar (fructose), but I have never had any problems using plain old granulated beet sugar (sucrose) with good results. In fact, the benefit of sucrose is that it produces a faster warmer fermentation which is a big help to insure a healthy wine in a climate where it can be below freezing in the late autumn. Along the same line of reasoning, I put in enough sugar to raise the Brix to 23 or more. Higher alcohol will almost always benefit a wine grown and made in a cold climate. If the acidity is too high, over 1 g/l, you can adjust it with various chalk based compounds, but it is much easier and the wine will taste better if you simply add more low acid grapes such as Foch or Chancellor. Those bland tasting California grapes brought into most Italian neighborhoods by the truckload, work well for de-acidification too. The benefit of adding low acid wine is that you can correct the acid easily right up to the day of bottling and you can do bench trials to be sure you have the blend right before doing anything to your wine. Another trick is to make a “false wine” and use it as a blender to lower the strength of the acid too.*** In hot dry summers like 2005 and 2018 when grapes reach the ideal ripeness, you might not need to make any adjustments.
Step Three
Dump the grapes into a clean 32-gallon plastic trash can. Don’t worry about de-stemming or crushing. The wine will eventually do that all by itself.** Put about 150 pounds of grapes per container, maximum. Then take a blunt object, such as a piece of wooden 2x4 or your feet if you’re into stompin’ grapes, and somewhat mash the grapes packing them down into the container. At this point you’re just trying to break up enough grapes so that there is at least a half gallon of juice in the bottom of the container. Some years, it is so hot and the grapes so ripe that they are already at that point by the time you get them out of the vineyard. Once the grapes are a bit sloppy, it is worth investing in a stainless steel must plunger which really makes the job easy once the grapes are sloppy and pliable. Do not add sulfite at this point. Fermentation will start much more vigorously and you can retain much more of the vineyard’s terroir if you do nothing to kill the wild yeasts and other (mostly beneficial) bacteria that abound in the vineyard. Also, by using a killer yeast strain after fermentation is well under way, its competitive nature will eliminate most harmful microorganisms before they do any damage.
At this point, add the sugar, as needed. Then inoculate with yeast. With grapes that are too acidic, I like to use Lalvin 71B-1122 which metabolizes about 20% of the malic acid to start fermentation and then after a few days of rolling fermentation, add a killer strain. You will need about two packets of yeast per 150 pounds of grapes. Take two packets of cultured yeast and mix them with tepid (104 degrees) water with a little sugar mixed in. When your yeast mixture looks scummy and starts to smell like bread it is time to add it to the grapes. Winemakers refer to this process as “inoculation”. Once the fermentation is at a rolling foaming boil for a few days, then inoculate with a yeast with a “killer” factor such as Prise de Mousse, which is sold as Red Star Premier Cuvee or Lalvin EC-1118 in home winemaking shops.

Step Four
Inoculated, semi-crushed and ready for twice daily punching down the cap
Place a thick sheet to plastic (such as a heavy duty garbage bag) over the top of the container of grapes and snap on the lid. This acts as a primitive one-way fermentation valve keeping the CO2 in and air, insects and debris out. After about 12 hours, take the lid and the plastic off the container and put your ear close to the grapes. If you can hear a slight hissing, sizzling, or boiling sound and smell CO2 gas, your fermentation has begun and you are on you way to making wine. Congratulations! Replace the sheet of plastic and the lid tightly on the container.
Step Five
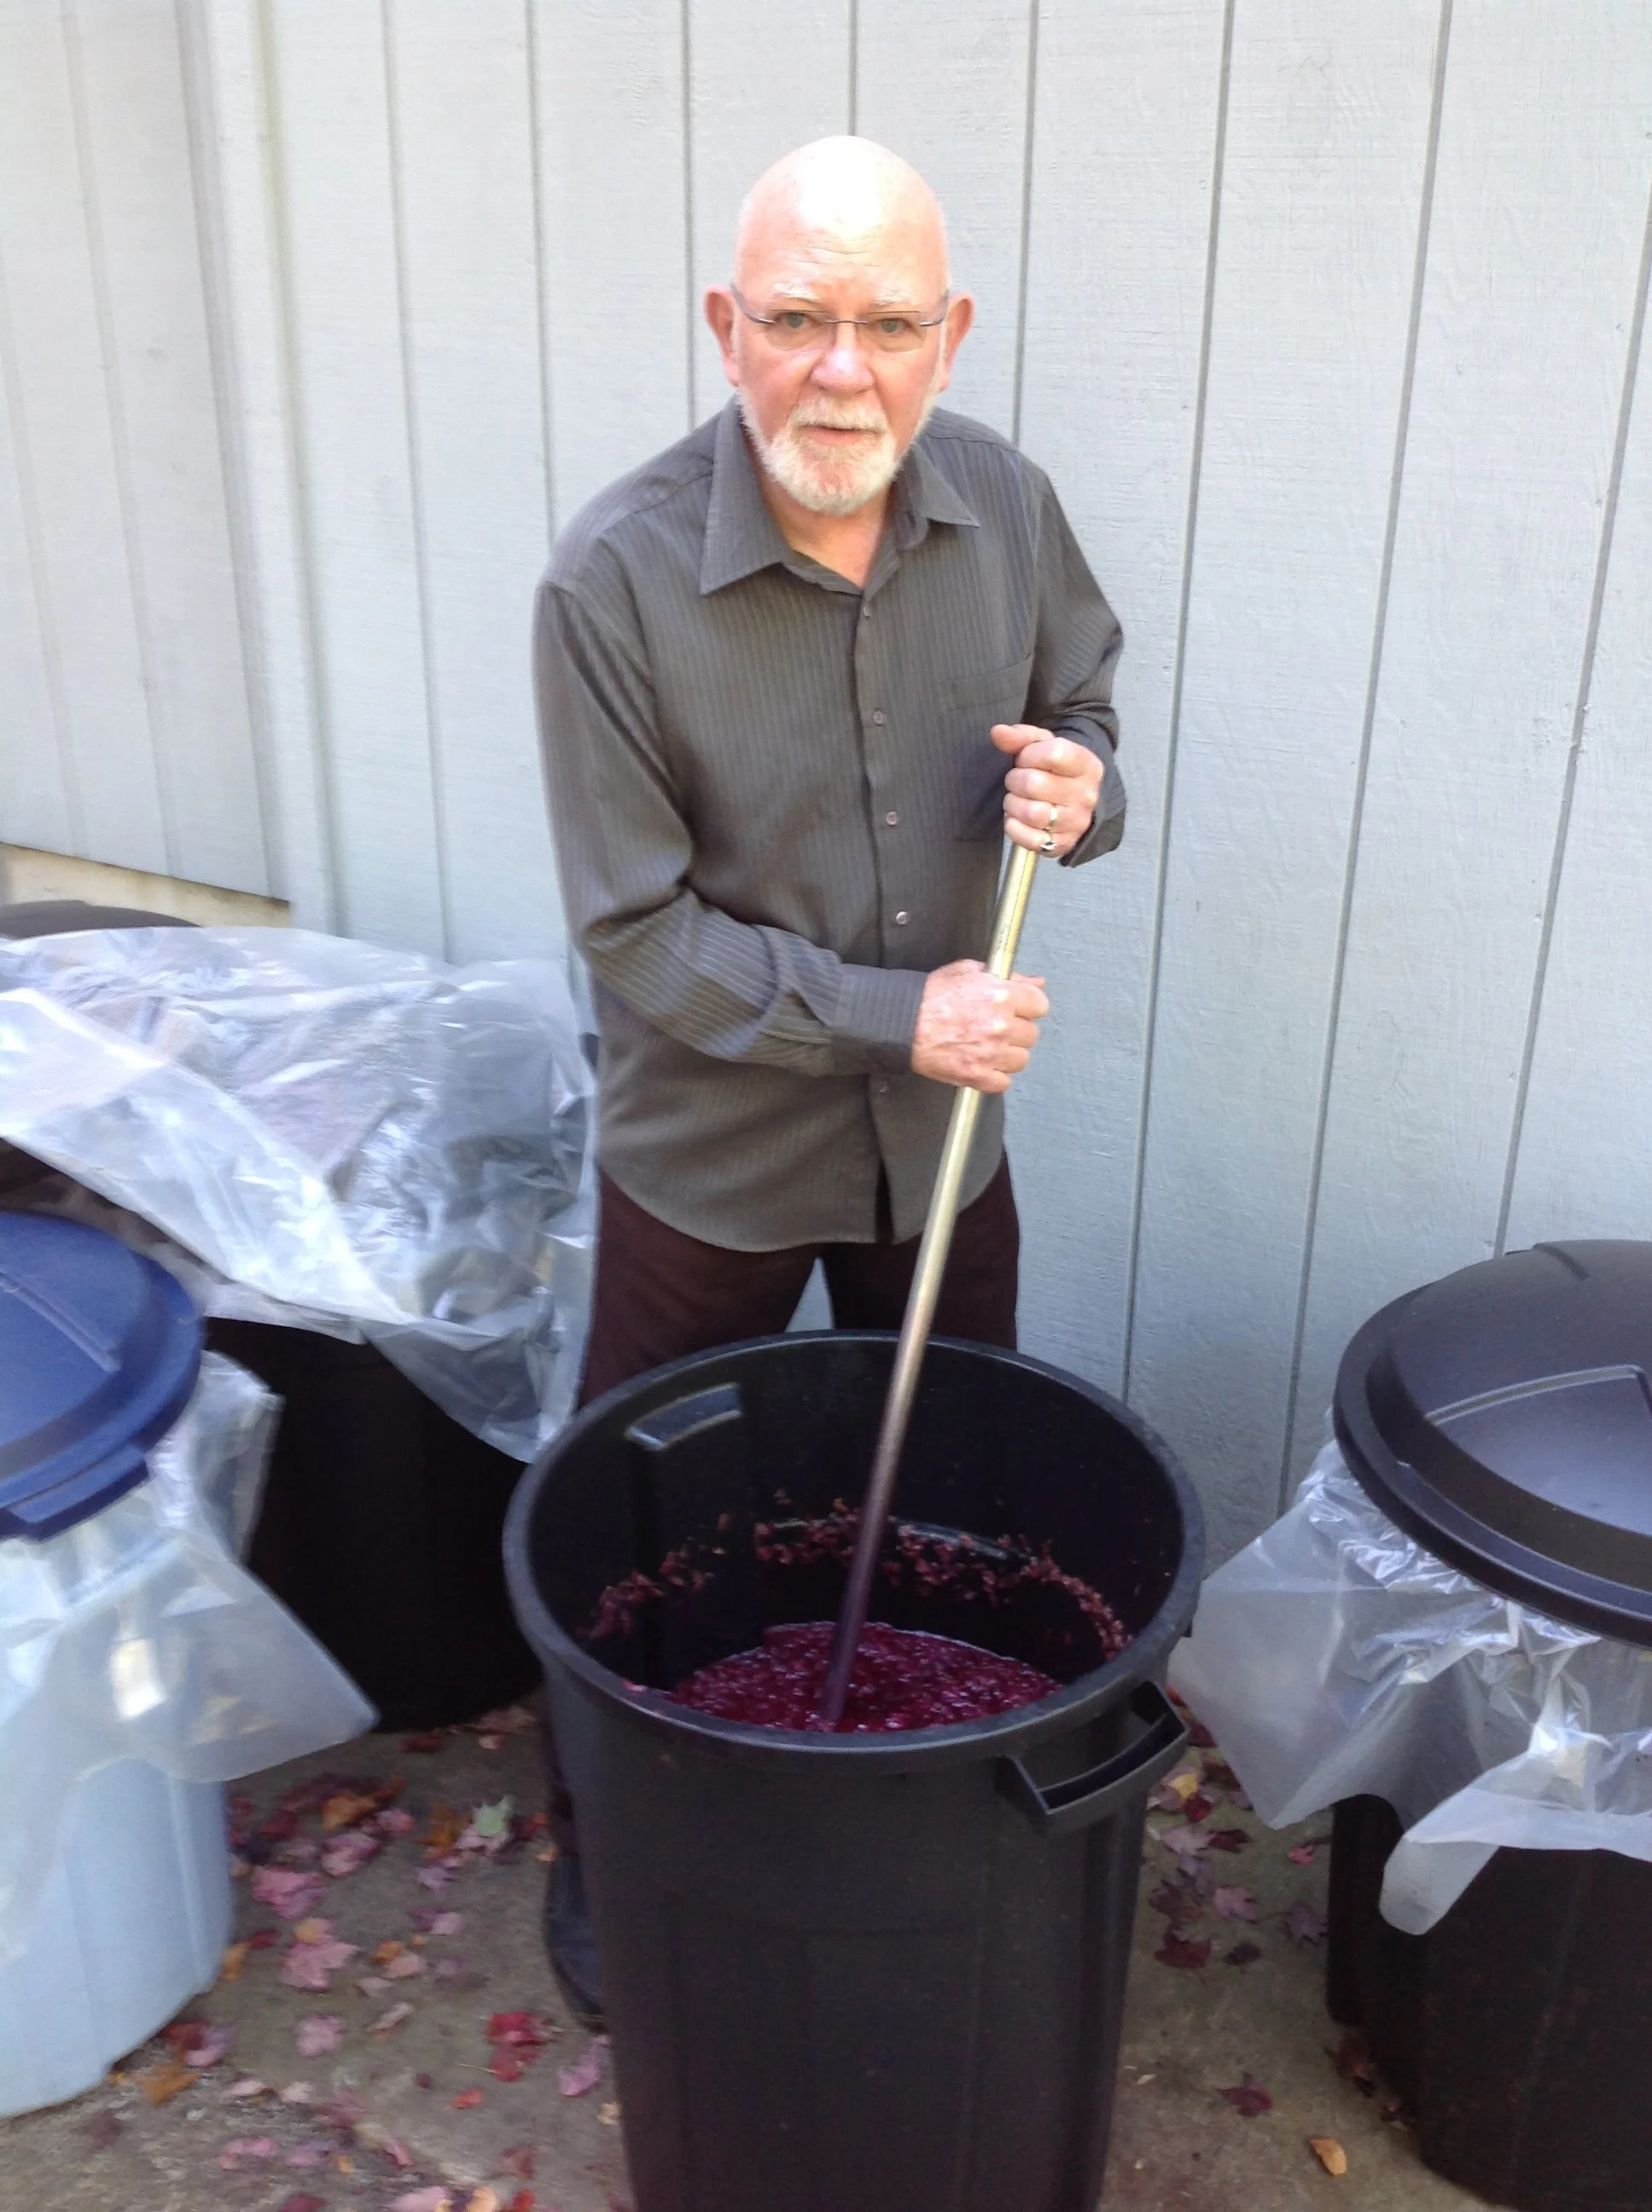
The Michigan Vintner showing off his new must plunger
Every 12 hours or so, remove the lid and plastic sheet and take the blunt object or must plunger to continue pressing down and compacting the grapes. At some point, usually after about 36 to 48 hours unless it is extremely cold, you will start to see the wine seeping over the grapes as you continue to pack them down. When you get to that point continue to pack them down making sure that all of the grapes are submerged every 12 hours. This process is known by winemakers as “punching down the cap”. What is happening is the CO2 collects under the grapes, which by this time are separating into pulp, skins, seeds and stems, causing them to float. If you do not keep submerging them, you will not get good color extraction and unwanted bacteria and fruit flies collecting on the cap will further damage the wine. Continue this process every 12 hours until you notice that the strong smell of CO2 has noticeably diminished and no longer burns the nostrils. At this point, the grapes will look like a thick, wet, sloppy purple mass. Winemakers call this “must”.
Step Six
Now you need the fruit press. Put as much of the must in the press at a time as it will hold and press it as hard as possible. In my opinion, the harder you press, the better the wine. The last few astringent drops that you extract give the wine texture, character and depth of flavor. From a manually operated wine press, all of the wine is essentially “free run”. You cannot possibly press the grapes hard enough to extract bitterness from the seeds or stems with a home wine press.

Step Seven
To save some labor, you can put a small sump pump into a sieve to push the newly pressed wine into carboys or stainless tanks
As the wine is being squeezed from the must and flows from the press, pump or pour it directly into clean (disinfected with a 10% sulfite solution) glass carboys or stainless containers. Add ¼ tsp of Potassium Metabisulfite per five gallons of wine. Place stoppers and airlocks on each container and make certain that the airlocks never go dry. Frequently, purple foam and other solids will flow into the airlocks as the wine continues to ferment. Be sure to wash and refill the airlocks immediately. If you use the newer style silicone stoppers with built in air locks this process is minimal. You might consider leaving a bit more head space if it continues.
Step Eight
When you notice that there is a clear line between the sediment and the wine, it is time to decant the wine. Winemakers call this “racking” the wine. Usually, the wine separates from the heavy sediment in a week or two. Very carefully pour off or siphon off just the wine leaving the sediment behind. Do not throw away the sediment, however. It is about 60% wine! Put all of the sediment into one container with an airlock in a refrigerator for about a week and you will be amazed to see that it is mostly wine and, great wine at that. I often bottle that wine drawn off the sediment and label it “winemakers reserve” for my consumption only. When you again, notice that there is a clear line between sediment and wine in your containers, it is time to put the wine into a wooden wine barrel where it will rest for about a year.***** Once again, be sure to add ¼ teaspoon of potassium metabisulfite per 5 gallons that go into the barrel. If you do not wish to invest in a wine barrel, consider toasted oak chips in a clean carboy or stainless container. You must keep all containers, wood, glass or stainless completely full from this time on. If necessary, fill with last year’s vintage if you come up a little short. With wooden barrels, you will need to top them off every month, as there is considerable evaporation and absorption taking place.* The wine you use to top up with should have an elevated sulfite level to compensate for any diminishment of the original sulfites added after press and after racking. This will avoid the growth of “film yeast” which can ruin a barrel of wine with a very unappetizing odor.
Step Nine
After about a year, when your next batch of wine is ready to go into your barrel, it is time to bottle your wine. Siphon directly from the barrel to your bottling mechanism. A three spigot bottling tank with an automatic shut off valve is a worthwhile investment. Be sure to rinse all of your clean bottles and corks in a 10% sulfite solution before filling. This may sound like an awful lot of sulfites, but it is absolutely necessary if you want to make wine instead of vinegar. For most of us, sulfites are harmless and tasteless once blended into the wine. It was the Egyptians some 4,000 years ago that discovered that burning brimstone (a source of sulfur) into their amphorae enabled them to keep wine fresh from one vintage to the next. All winemakers have used sulfites as a preservative ever since. Wine will naturally undergo a bacterial fermentation and become undrinkable if not sulfited. In the history of mankind, sulfites**** have never caused a headache. It is the histamines, tyramines and alcohol that cause headaches.
Step Ten
After about a month, the wine will have sufficiently recovered from “bottle shock” to be tasted. Pull the cork and enjoy!
If making wine sounds like fun, it is. White wine making is a bit trickier and requires even more need for sanitation and will be lighter in color and fruitier smelling with a somewhat more aggressive sulfite regimen. I recommend making a batch of white wine from concentrate before attempting it with grapes. Sparkling wine is by no means impossible for home winemakers either, just be certain you have read Phillip Wagner’s book thoroughly before attempting it.
No matter how good you get, remember that there is no substitute for good grapes, and no matter how good the grapes there is no substitute for cleanliness and care.
Enjoy in Good Health!
A Brian Cain, the Michigan Vintner
*Oak barrels last for decades and if you want them to taste new, just add “oak beans” which stay buoyant and come in all different levels of toast. The most important aspect of a barrel is that it concentrates the wine and is a living biosphere of beneficial bacteria such as ML. It concentrates wine because the pores on oak barrels are so small and tight that only water (tiny molecules) can pass through the pores. Large molecules such as alcohol, aromas and flavors are way too big to fit through an oak pore. So, the so called “angels share” is nothing but water vapor. The best and shortest route to becoming an instant barrel expert can be viewed by clicking on this link. Also, you might want to Google “Rebecca Dunphy Scots vs Irish vs Bourbon” for a very worthwhile 3 1/2 minute video that takes a bit deeper dive into barrels.

Useful Tips
Grower Kim LeRoux keeping the process organized
** Now if you are strong and limber, crushing the grapes is totally unnecessary. However, as we got older, Tom and Kim LeRoux invested in a stemmer/crusher which takes all the work out of conditioning the grapes. They are already must when they come out of the crusher/stemmer. This also greatly speeds up fermentation start and finish. You’ll find that grapes left whole ferment for at least a week to 10 days, even longer if you are making wine in the middle of November for late varietals. But, if I was young enough and strong enough, I’d ferment them whole. I like the edge that these wines possess plus the fact that pressing fermented uncrushed grapes is much easier. Sometimes, when grapes are pre-crushed and pre-stemmed the pressing regimen is about as easy as squeezing water out of Jell-O.
***One grape type that I’ve had good luck with and makes an excellent blender to lower acidity without diluting the wine’s flavor is called Valdepena (no “s”). It is not Tempranillo as you might expect but rather a Zinfandel based field blend of assorted Mediterranean varieties; not good enough to make a straight wine, but, a very good blending agent.
**** A false wine is made by adding water and sugar to a fermenter full of pressed skins, seeds and stems. Allow it to ferment for a week or so punching down twice daily just as if it was a real wine and then pressing it. It will be pretty low acid, have good tannic texture and taste somewhat bitter. Again, not something you’d make a stand alone wine from, but when added something like 10% or less to a real wine, it can greatly enhance the texture, lower acidity and not affect the smell or taste in any meaningful way.
***** However, if you have acute asthma, you should never be anywhere near sulfites because they can cause respiratory arrest. If you have ever drunk commercial wine and didn’t die immediately, then you have nothing to worry about regarding sulfites.
****** Do not attempt to store empty wine barrels in damp cool climates such as Michigan. Yes, they sell a sulfur wick and claim it will keep the barrel sterile, but, I don’t trust them or anything that claims to keep a barrel from becoming infested with unwanted bacteria here. If you refill the barrel immediately after emptying it and rinsing it out, you’ll be fine. If you only have one barrel and enough wine to fill it twice wait at least until the 4th of July before bottling the fist batch. By then, any re-emergent fermentation will have already occurred and finished.